Recreational vehicles (RVs) provide the freedom to explore the open road while bringing the comforts of home along for the journey. However, over time, the cabinets inside an RV can start to look dated and worn. Painting the cabinets is a cost-effective and creative way to breathe new life into your RV’s interior. Let’s explore how to paint RV cabinets.
Preparations Before Painting Your RV Cabinets
Table of Contents
ToggleConsider the Impact on RV Value
It’s worth noting that before delving into the process of painting your cabinets or undertaking any upgrades to your RV, it’s crucial to assess whether these changes could affect the overall value of your vehicle, either positively or negatively. I had always desired to update my RV, yet I weighed its potential impact on its resale value. In my case, I chose to make alterations that wouldn’t compromise the RV’s value in the market. If resale value isn’t your primary concern, feel free to forge ahead with your project. However, if you might entertain selling your RV down the road, it’s wise to factor this into your plans.
Seek Inspiration:
Should you decide to proceed with your painting project, the next step involves determining the aesthetic direction you wish to pursue. Gaining inspiration from others who have undertaken similar endeavors is a prudent approach.
Establish Your Project Budget
Following inspiration, the subsequent task entails setting a clear budget for your undertaking. If you’re reading this post, you’re likely aiming to accomplish your project cost-effectively. However, it’s important to acknowledge that DIY projects can sometimes incur unforeseen expenses due to unexpected mishaps or overlooked steps.
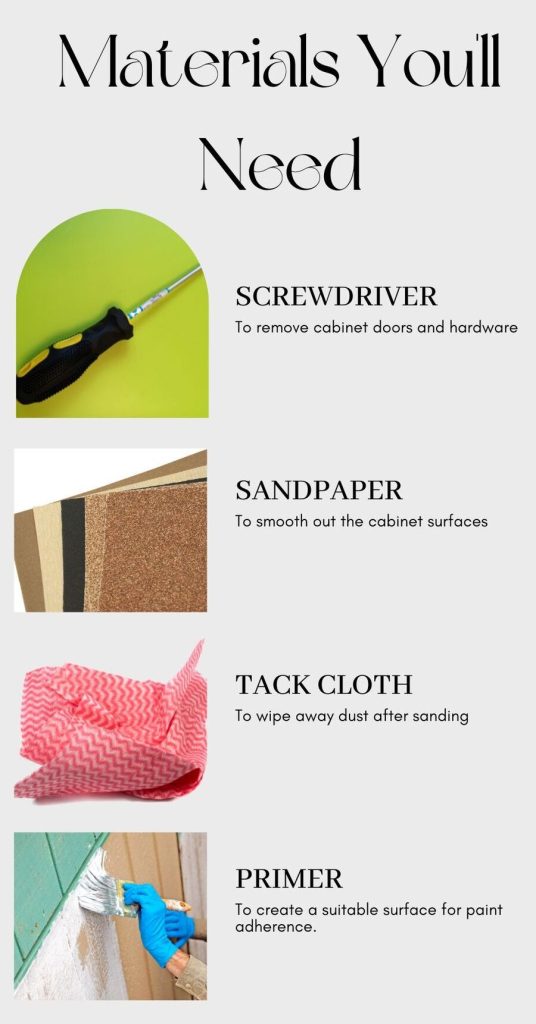
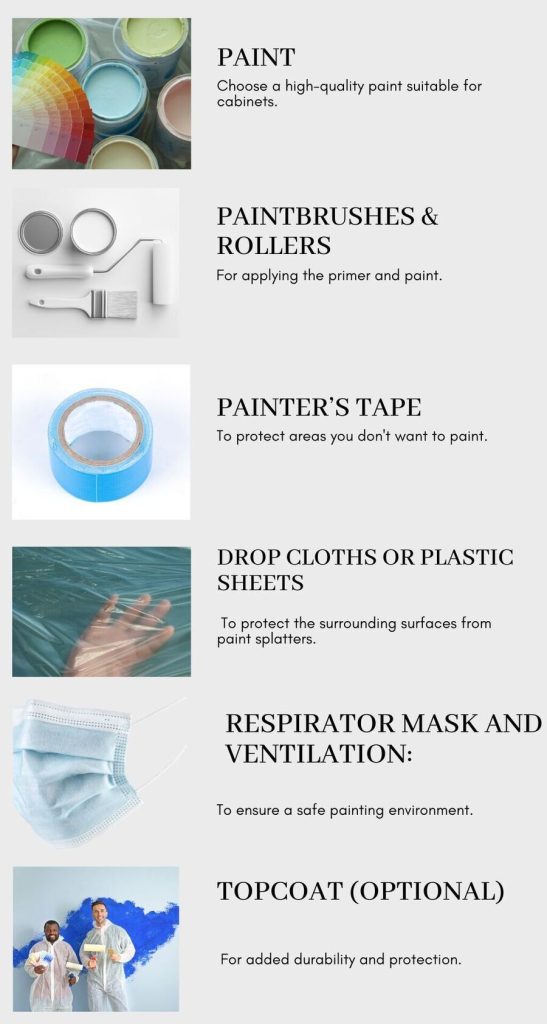
To initiate budgeting, compile a comprehensive list of required supplies and cross-reference them with items you already possess. The checklist provided below serves as an excellent starting point for this purpose.
Step-by-Step Guide: The Art of Cabinet Painting
Whether your RV is undergoing a comprehensive metamorphosis for habitation or merely necessitates a spruce-up for that upcoming rental adventure, the magic of cabinet painting unveils itself as a formidable ally. This transformative process can breathe new life into your RV’s interior, promising visual rejuvenation.
1. Preparation:
Remove all cabinet doors, drawers, and hardware using a screwdriver. Lay out drop cloths or plastic sheets to protect the surrounding area from paint. Ensure to ventilate the space well and wear a respirator mask to avoid inhaling fumes.
2. Crucial and Unskippable: The Imperative of Sanding
In RV cabinet transformation, one step reigns supreme: sanding.
Use sanding blocks or sandpaper to lightly sand the cabinet surfaces. This contributes to the formation of a coarse texture, enhancing the adherence of the paint. Use a tack cloth to remove dust or debris from the surfaces after sanding.
3. Primer:
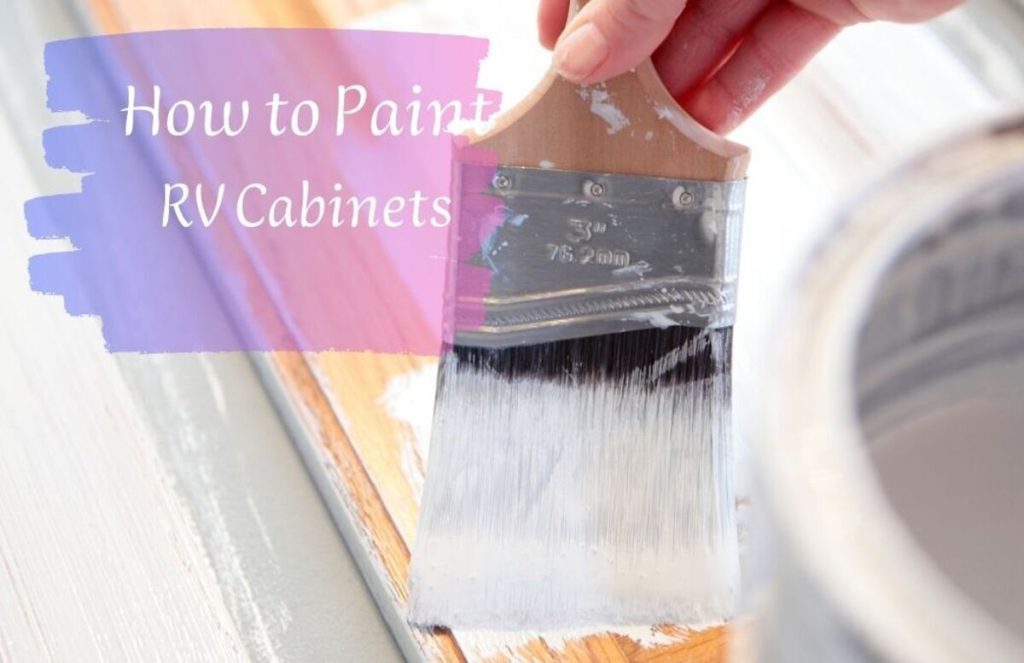
Apply a coat of primer to all the sanded cabinet surfaces. Primer offers a smooth and even base for the paint to adhere to. Let the primer dry as per the guidelines provided by the manufacturer before proceeding to the next phase.
4. Painting:
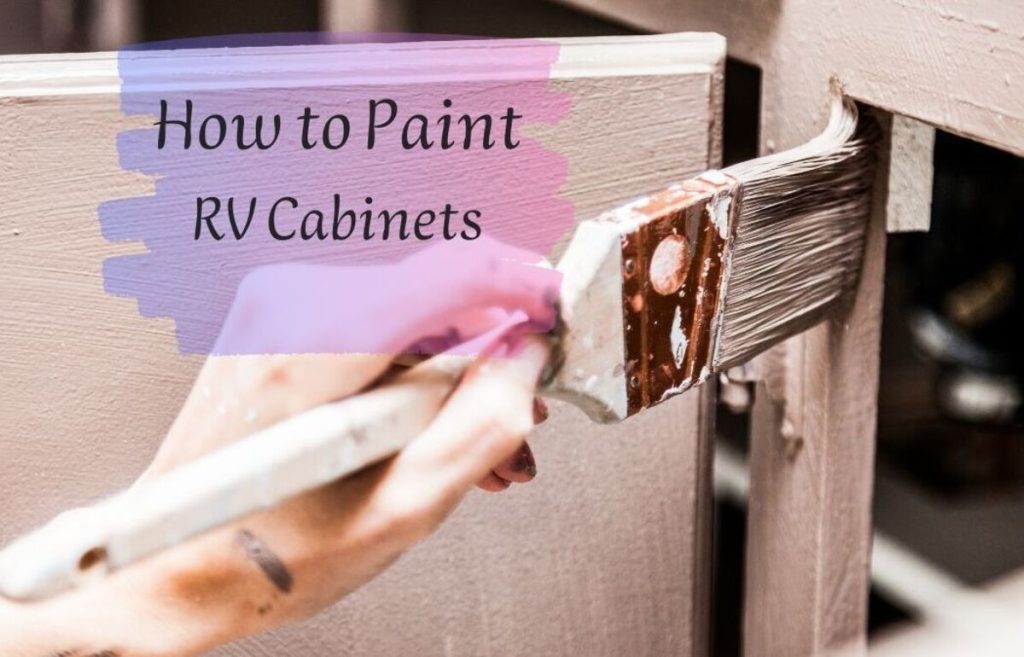
You can start applying the paint when the primer is dry. Use a high-quality paint specifically designed for cabinets to achieve the best results. Begin with a brush covering corners and edges, then use a roller for larger flat areas. This will help ensure a consistent finish.
Apply thin and uniform layers of paint, permitting each coat to fully dry before adding the subsequent one. This usually takes a few hours.
5. Cabinet Doors and Hardware:
While the cabinets are drying, you can paint the cabinet doors and hardware separately.
Follow the same steps above for sanding, priming, and painting the doors and hardware.
6. Optional Topcoat:
Consider applying a clear topcoat designed for cabinets for added protection and durability. This step can help prevent chipping and fading over time.
Allow the topcoat to dry thoroughly before reassembling the cabinets.
7. Reassembly:
Once everything is dry, reattach the cabinet doors and hardware using the screwdriver.
8. Final Touches:
Remove any painter’s tape carefully to avoid pulling off the fresh paint.
Tidy up your work area and appropriately discard any materials that have been used.
What Type Of Paint For Your RV Cabinets
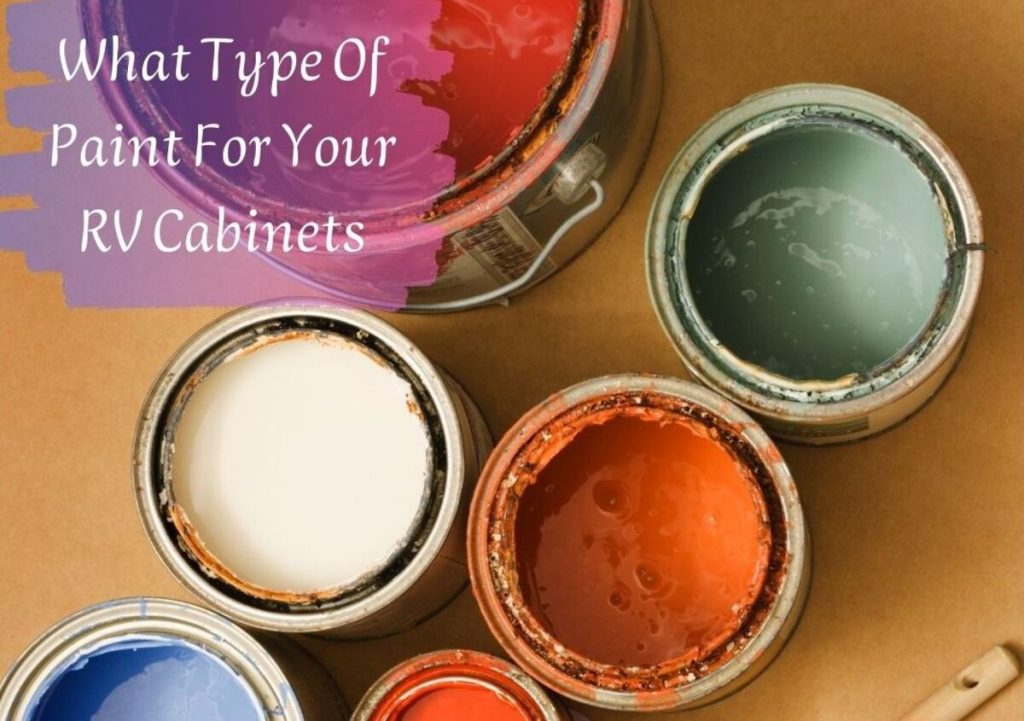
Selecting the appropriate paint for renovating your RV cabinets requires a thoughtful consideration of the available options. Gaining a deeper understanding of the various types of RV paints is crucial to making an informed decision regarding the most suitable choice. A diverse range of selections within RV paints is categorized into three distinctive varieties.
Water-Based Paints
Among these, water-based paints stand as the most prevalent option. Renowned for their user-friendly application and easy cleanup, water-based paints also emit minimal odors, a particularly vital aspect when working within confined spaces such as an RV interior.
Acrylic Latex-Paints
An alternative to water-based paints is acrylic latex paints. Similar to their water-based counterparts, these paints boast ease of application but differentiate themselves through heightened durability in the final finish. Additionally, acrylic latex paints exhibit heightened resistance to fading and chalking, ensuring a more enduring and aesthetically pleasing outcome.
Enamel Paints
For those prioritizing longevity and an exquisite appearance, enamel paints emerge as the preeminent choice. Enamel paints can retain their brilliance over extended periods, enduring the tests of time and Delivering a lustrous high-gloss finish. However, it’s important to note that enamel paints necessitate more intricate application techniques, demanding a certain level of expertise and attention to detail for optimal results.
In summation, comprehending the distinctions between water-based, acrylic latex, and enamel paints equips you with the knowledge to discern the most fitting paint for your RV cabinets. Each variant presents its own set of advantages and considerations, allowing you to align your choice with the specific requirements of your project.
FAQs for How to Paint RV Cabinets
What primer do you use on RV cabinets?
Opt for a primer compatible with RV cabinets, promoting paint adhesion and lasting finish. The primer recommended for RV cabinets is the KILZ Adhesion High-Bonding Latex Primer.
How many coats of paint on RV cabinets?
Applying 2-3 coats of paint on RV cabinets enhances coverage and durability.
How many gallons of paint do I need to paint my RV?
Estimate around 2-3 gallons of paint based on RV size for a comprehensive painting project.
Conclusion
Painting RV cabinets is a rewarding DIY project that can breathe new life into your vehicle’s interior. Following this step-by-step guide and using high-quality materials, you can transform your RV’s cabinets into a focal point reflecting your style and personality. With a bit of patience and creativity, your RV will feel like a brand-new space ready for your next adventure on the open road.

