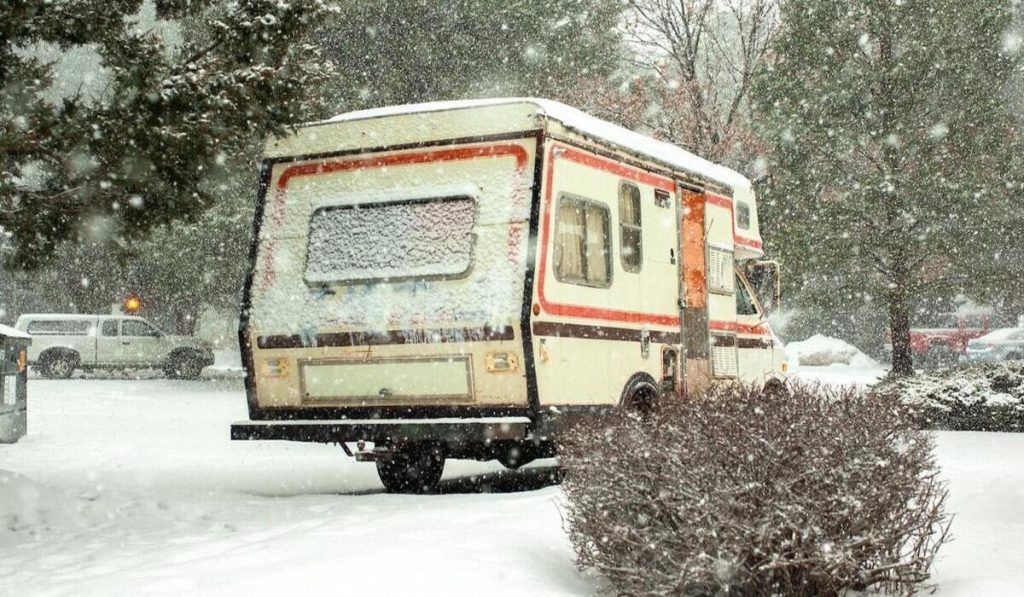
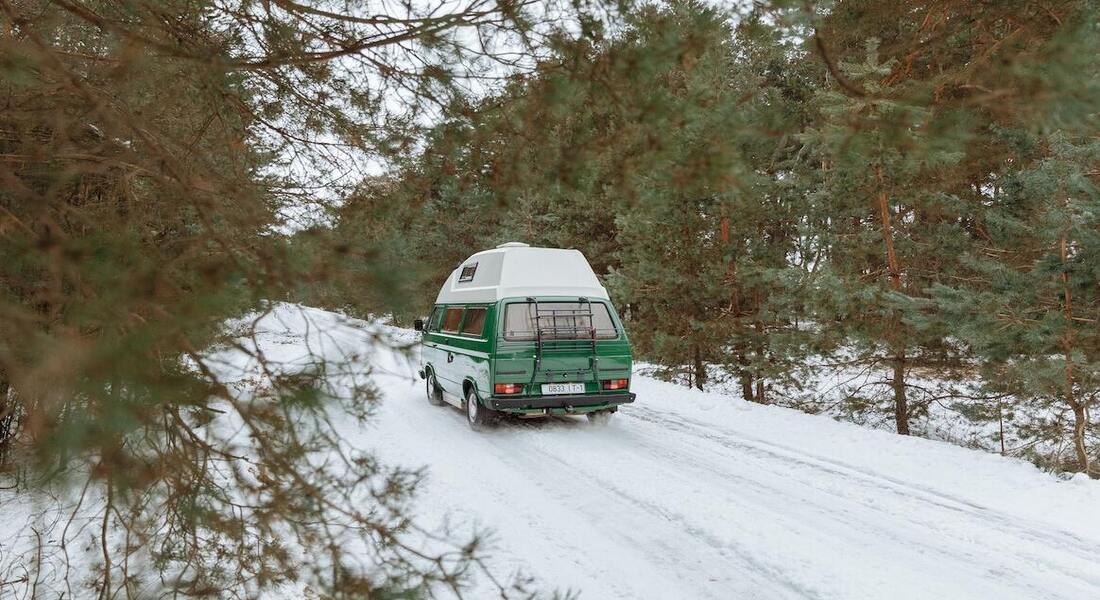
When winter approaches, RV owners must proactively protect their valuable investment. Winterizing an RV is a crucial process that safeguards its plumbing system from potential damage caused by freezing temperatures. While several steps are involved in winterizing, one key component that should be noticed is antifreeze. This article will explore the importance of winterizing an RV and highlight the significance of using antifreeze in the winterization process.
Understanding Antifreeze
Table of Contents
ToggleAntifreeze protects an RV’s plumbing system during the cold winter. This specialized fluid prevents water from freezing and expanding within the RV pipes, tanks, and faucets. By introducing antifreeze into the plumbing system, RV owners can ensure that the water lines remain intact and undamaged even in freezing temperatures.
Different types of antifreeze are available for RVs, with the most common options being propylene glycol and ethylene glycol.
Propylene glycol antifreeze is considered non-toxic and safe for the environment, making it a popular choice among RV enthusiasts. Ethylene glycol antifreeze, on the other hand, is highly effective at preventing freezing but is toxic and should be handled with extreme caution.
When selecting antifreeze for an RV, several key properties must be considered. These include the freeze point temperature, corrosion inhibitors, compatibility with materials used in the RV’s plumbing system, and whether it is safe for potable water systems. By carefully evaluating these factors, RV owners can choose the most suitable antifreeze to protect their plumbing system effectively.
How to Prepare the RV for Antifreeze

Before applying antifreeze to the RV’s plumbing system, it is crucial to prepare the vehicle adequately. This involves a series of steps to thoroughly clean and drain all water tanks, pipes, and faucets. Begin by emptying the fresh water tank and draining all water lines and faucets, including the hot water tank. This will help remove any remaining water that could freeze and damage the system.
Additionally, it is important to remove water filters and bypass any unnecessary components, such as external showerheads or additional filtration systems. Doing so can prevent these components from being exposed to antifreeze, which may cause damage or affect their performance.
To further safeguard the RV’s plumbing system, ensure all valves and drains are properly closed. This will help prevent leaks or accidental contamination when introducing antifreeze into the system. RV owners can lay the foundation for a successful and effective antifreeze application process by taking these preparatory steps.
How to Choose the Right Antifreeze
To effectively protect an RV’s plumbing system during winterization, it’s important to understand the two main types of antifreeze available: propylene glycol and ethylene glycol.
Propylene glycol antifreeze is considered the safer option for RVs and the environment. It is non-toxic and has a lower toxicity risk if accidentally consumed. Propylene glycol is also compatible with various plumbing materials commonly found in RVs, including plastic, copper, and brass. Moreover, it is safe to use in potable water systems, ensuring the water remains safe for consumption.
Ethylene glycol antifreeze, while highly effective at preventing freezing, is toxic and should be handled with extreme caution. It is not recommended in RVs where potable water systems are present, as it poses health risks if ingested. Additionally, it can cause damage to certain plumbing materials and may require extra care during the flushing process in the spring.
Considering the advantages and disadvantages of each type, propylene glycol antifreeze is the recommended choice for most RV owners. Its non-toxic nature, compatibility with plumbing materials, and suitability for potable water systems make it a safer and more convenient option for winterizing an RV.
Applying Antifreeze to the RV Plumbing System
Before applying antifreeze, it is crucial to identify the appropriate entry point into the RV’s plumbing system. This is typically the freshwater tank’s intake line or a specific bypass valve designed for winterization. Identifying the correct entry point ensures that the antifreeze circulates throughout the plumbing system, providing comprehensive protection against freezing.
The step-by-step process of introducing antifreeze into the RV’s plumbing system involves the following:
- Prepare a sufficient amount of antifreeze suitable for the RV’s water capacity.
- Turn off the RV’s water pump and disconnect the water source.
- Open all faucets inside the RV, including hot and cold water taps.
- Connect a hose or suitable adapter to the chosen entry point for the antifreeze.
- Insert the other end of the hose into a container of antifreeze.
- Turn on the RV’s water pump, allowing it to draw antifreeze from the container.
- Continue running the pump until the antifreeze flows through all faucets, including showers and toilets.
- Repeat the process for external connections, such as an outdoor shower or sprayer.
- Once the antifreeze has circulated through the entire plumbing system, turn off the RV’s water pump and close all faucets.
Ensuring proper distribution and circulation of antifreeze throughout the system is important. You can achieve this by opening each faucet one at a time, starting from the faucet closest to the water pump and moving towards the farthest point. This ensures that antifreeze reaches all areas of the plumbing system, including pipes, valves, and faucets.
Additional Considerations
Revitalizing Vital Spaces: Tackling Toilets, Showers, and External Connections:
When winterizing an RV, paying attention to specific areas prone to freezing is important. Toilets, showers, and external connections require special consideration. For toilets, consider using antifreeze specifically designed for toilets or adding a specialized toilet bowl gel that helps prevent freezing and seals the bowl. Insulate any exposed pipes or fixtures in showers to protect against freezing. External connections, such as outdoor showers or sprayers, should also be appropriately drained and protected with antifreeze.
Guarding RV Guardians: Shielding the Water Heater and Pump:
In addition to the plumbing system, other crucial components of the RV, such as the water heater and pump, should be protected during winterization. Drain the water heater and remove any water from its tank before applying antifreeze. Refer to the manufacturer’s instructions to ensure proper winterization procedures for your specific water heater model. The water pump should also be adequately drained and protected with antifreeze to prevent freezing and potential damage. Insulating the water heater and pump can provide extra protection against extreme cold.
Navigating the Blueprint: Unlocking the Power of Manufacturer Instructions
Every RV model may have specific winterization instructions provided by the manufacturer. It is crucial to follow these instructions to ensure proper winterization and prevent any potential damage. Manufacturer guidelines often include specific steps, recommended antifreeze types, and instructions for particular components. Adhering to these instructions will help ensure the winterization process’s effectiveness and preserve your RV’s integrity.
Safety Measures

Essential safety precautions when handling antifreeze:
It is essential to prioritize safety when handling antifreeze. Antifreeze, especially ethylene glycol-based varieties, can be toxic if ingested or absorbed through the skin. Essential safety precautions include wearing gloves and eye protection while handling antifreeze. Avoid contact with the skin, eyes, and mouth, and wash hands thoroughly after handling antifreeze. If accidental ingestion or exposure occurs, seek medical attention immediately.
Proper disposal methods for used antifreeze:
Proper disposal of used antifreeze is crucial to protect the environment. Never pour antifreeze down drains, storm sewers, or onto the ground, as it can contaminate water sources and harm wildlife. Instead, collect used antifreeze in a suitable container and dispose of it according to local regulations. Many automotive shops or recycling centers accept used antifreeze for proper disposal or recycling.
Personal protective equipment (PPE) that should be used:
Personal protective equipment (PPE) is essential when handling antifreeze. It is recommended to wear gloves made of materials such as nitrile or rubber to protect the skin from contact with antifreeze. Eye protection, such as safety goggles or glasses, should be worn to prevent accidental splashes or spills from reaching the eyes. Additionally, it is advisable to wear appropriate clothing that covers the arms and legs to minimize exposure.
Reversing the Antifreeze Process
Flushing out the antifreeze in the spring:
In the spring, it is essential to flush out the antifreeze from the RV’s plumbing system to ensure a fresh and clean water supply. Begin by draining the RV’s fresh water tank and all water lines. Open all hot and cold faucets to allow any remaining antifreeze to flow out. Flush the system with clean, fresh water by filling the fresh water tank and running water through all faucets until the water runs clear.
Purging the Past: Flushing for a Fresh Start
Proper flushing and rinsing are crucial to remove all traces of antifreeze from the plumbing system. Antifreeze, if left in the design, can affect the taste and quality of the water. It is important to ensure that all faucets, showers, and toilets are thoroughly flushed with clean water to remove any remaining antifreeze. Pay close attention to the water heater and pump, ensuring they are properly flushed and drained.
Tips for testing the water system after flushing:
After flushing out the antifreeze, it is advisable to test the water system to ensure there are no lingering traces of antifreeze and that the system is functioning properly. Run water through all faucets and check for any unusual odors or discoloration. Taste the water to ensure it is clear and free from any residual antifreeze taste. Additionally, check for any leaks or irregularities in the water system and address them promptly.
Conclusion: How to Antifreeze an RV
Properly anti-freezing an RV is vital for protecting its plumbing system in winter. Choose the right antifreeze, prepare the RV by cleaning and draining tanks, apply antifreeze correctly, and prioritize safety measures and proper disposal. In spring, flush out antifreeze, rinse with water, and test the system. Following these steps ensures the longevity and functionality of the RV’s plumbing system, making anti-freezing a wise investment for any RV owner.
Popular Reads:


